This is the process I used to get a Microk8s cluster with Rancher and AWX going.
Cluster Creation
As of today you can not run Rancher on Microk8s 1.30.x you need to install a version prior to 1.29.2
sudo snap install microk8s --classic --channel=1.28/stable
sudo microk8s enable metallb storage cert-manager ingress
sudo microk8s add-node
Your output will be different
Example:
From the node you wish to join to this cluster, run the following:
sudo microk8s join 192.168.1.44:25000/dc08961950a386667d29ef345354637/af6c07a6b78eVerify cluster is created and ready
sudo microk8s kubectl get node

NAME        STATUS   ROLES    AGE     VERSION
microk8s3   Ready    <none>   6h11m   v1.28.7
microk8s2   Ready    <none>   6h12m   v1.28.7
microk8s1   Ready    <none>   6h23m   v1.28.7
Rancher Creation
Rancher Installation
sudo microk8s helm3 repo add rancher-latest https://releases.rancher.com/server-charts/latest
sudo microk8s helm3 repo update
sudo microk8s kubectl create namespace cattle-system
sudo microk8s helm3 install rancher rancher-latest/rancher --namespace cattle-system  --set replicas=1 --set hostname=rancher.<domain.com>
Verify Rancher has finished installing
sudo microk8s kubectl -n cattle-system rollout status deploy/ranchershow Rancher pods
sudo microk8s kubectl get pods -n cattle-systemshow all pods
sudo microk8s kubectl get pods --all-namespacesAdd Loadbalancer config
sudo microk8s kubectl expose deployment rancher -n cattle-system --type=LoadBalancer --name=rancher-lb --port=443
sudo microk8s kubectl describe services
Access the page by going to https://rancher.yourdomain.com/
AWX Operator Creation
sudo apt install git
sudo apt install make
sudo git clone https://github.com/ansible/awx-operator.git
sudo cd awx-operator
sudo git checkout 0.15.0
export NAMESPACE=awx
sudo make deployCreate awx.yaml deployment file
---
apiVersion: awx.ansible.com/v1beta1
kind: AWX
metadata:
  name: awx
spec:
  service_type: LoadBalancer
  loadbalancer_port: 8443
  loadbalancer_protocol: https
Set default context to awx-namespace
sudo kubectl config set-context --current --namespace=awxDeploy AWX and expose the service
sudo kubectl apply -f awx.yamlMonitor the deployment process
sudo kubectl logs -f deployments/awx-operator-controller-manager -c awx-managerWhen deployment is done, ensure all pods are running
sudo kubectl get podsCreate admin account
sudo kubectl get pods
sudo kubectl exec --container awx-web -it awx-manage createsuperuser
Some info taken from Jamey Steinmann’s Blog
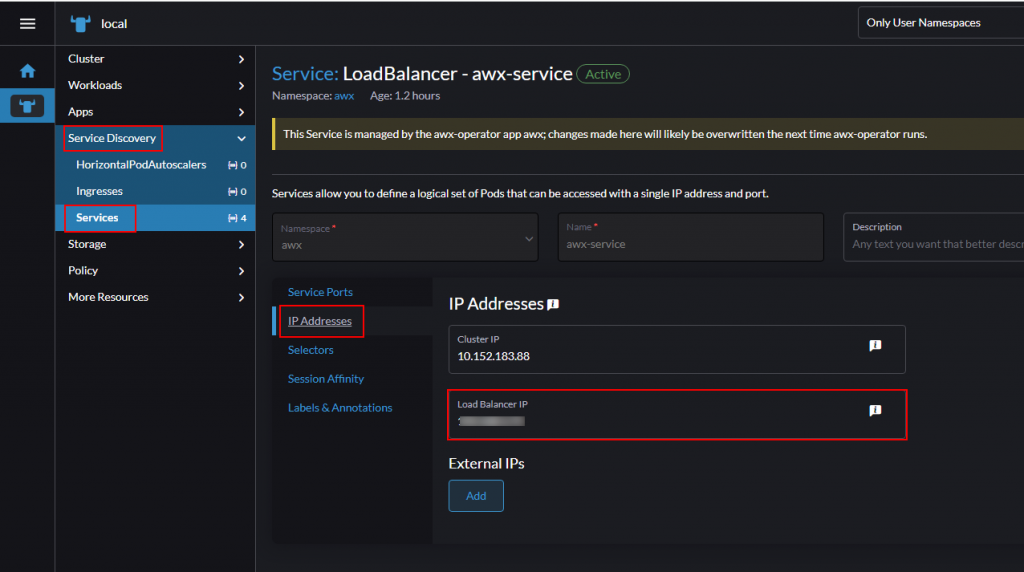
Add the loabalancer IP through ranchers interface

Hope this helps you out!
![]()


